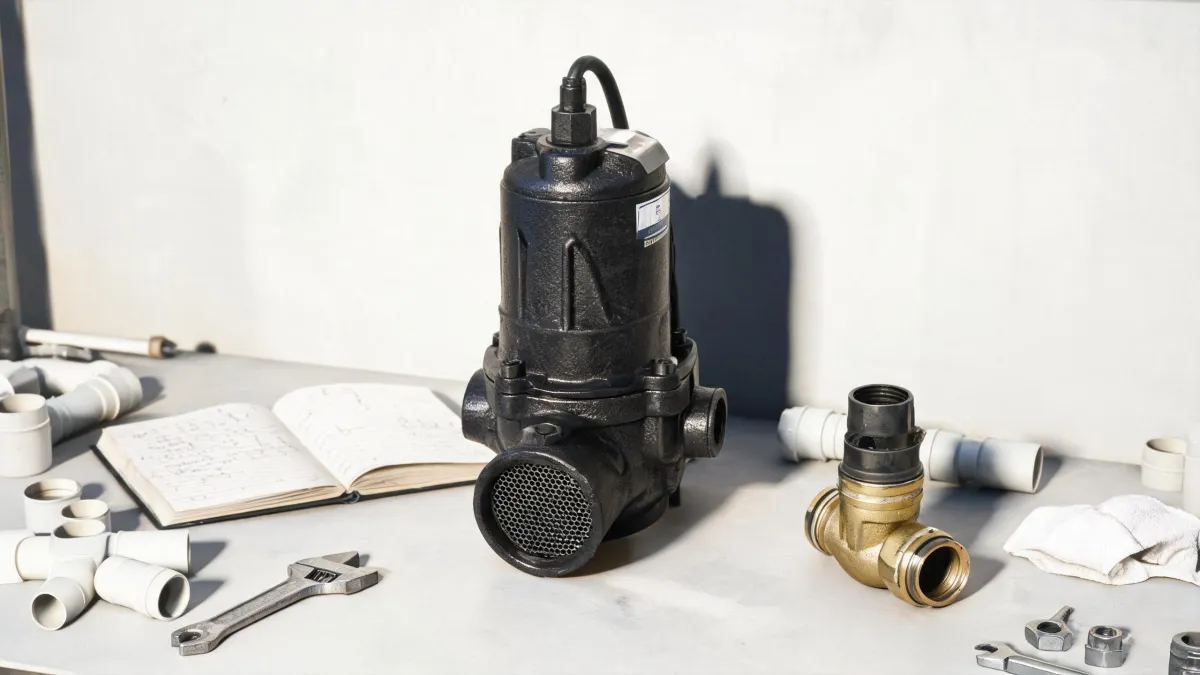
I'm the office administrator for a 14-person restoration company. I manage all the materials and tool ordering—roughly $350,000 a year across 11 vendors. I report to operations and finance, which means I defend every line item twice. When I took over purchasing in 2020, I knew nothing about pumps. Five years and some expensive lessons later, I've got a mental checklist for what to buy, what to skip, and what to run from. The questions below are the ones that come up most in meetings, at job sites, and from clients who've unwittingly volunteered to learn about sump pumps.
Which Zoeller sump pump is best?
Short answer: the M53, unless your pit needs more capacity. Then the M98.
The M53 is a 1/3 HP cast-iron submersible. It's been the workhorse in the Zoeller lineup for as long as I've been ordering them. We put one in a finished basement in 2021. It's been running every spring since, through storm season, without a hiccup. The M98 steps up to 1/2 HP with a 2-inch discharge. That's what we recommend for larger properties, high incoming water, or when the vertical lift is more than 15 feet or so.
I knew I should double-check the discharge head rating before ordering our first M53 for a house with an 18-foot lift. I thought, "what are the odds?" The odds caught up with me when it stalled on the first heavy rain. We swapped it for an M98 and the lesson stuck.
So, "which Zoeller sump pump is best" is really about matching the pump to the pit. Both are made in Louisville, Kentucky. Both run for years. And both are way more reliable than the sub-$100 plastic pump at the big box store. Whichever you pick, put a check valve on the discharge line—the International Plumbing Code requires it, and it keeps the pit from refilling after each cycle. If your area gets frequent outages, add a battery backup. Trust me on this one: the backup costs less than one cleanup.
Zoeller vs Everbilt sump pump: what's the real difference?
Both sit on the same shelf at Home Depot. Both will move water when they're new. One is contractor-grade, and the other is a house-brand entry-level product. Here's how I explain the difference to our accounting team:
Everbilt's plastic housing doesn't pull heat away from the motor like cast iron does. Plastic pumps run hotter, and their bearings wear faster. We trialed two Everbilt pumps in 2023 to stretch a tight budget. Saved $80 per pump. One went bad at 14 months; the other at 18 months. The second failure cost us about $450 in emergency labor and cleanup. Net loss compared to buying the Zoeller up front: roughly $370. The "budget" option looked smart until it wasn't.
Looking back, I should have known better. At the time, $80 per pump looked great on the spreadsheet. It didn't look great under a soaked basement floor.
Zoeller also backs the M53 with a 4-year limited warranty (as of January 2025; verify current terms). Everbilt's warranty terms are shorter and harder to reach from a phone. Look, I'm not saying Everbilt is junk. For a rental cabin or a seasonal pump, fine. For a finished basement with a $10,000 renovation sitting over it, spend the extra $80–$100.
Is the cast-iron construction worth the extra cost?
Yes, for professional installs. Here's the thing: cast iron absorbs heat from the motor. Less heat means a longer motor life. Plus, cast iron stays rigid when the pump vibrates, so the seals hold their alignment. Plastic volutes can warp over time, especially if the pump runs dry once. And a warped volute means lost pumping capacity.
Price difference: the M53 runs about $150–$220, while a comparable plastic pump is $60–$90. Based on publicly listed prices, January 2025, and they move. For a homeowner who's watching every dollar, I get the plastic pump. For our company, one callback on a failed pump would eat the savings of five plastic orders. That's not math you want to lose.
What's the best toolbox for sump pump and tile jobs?
If you've ever watched two guys spend half an hour digging through a sagging 30-inch tool bag on a muddy driveway, you understand why we switched. In 2024, we standardized our vans on the Makita MakTrak system, and the Maktrak extra large extension tool box has been the piece I reorder most. It fits a compact hammer drill, two pipe wrenches, a small check valve, and our tile-cutting gear without forcing the lid shut.
The extra-large extension toolbox runs about $90 at current prices (January 2025). It locks into the other MakTrak boxes, so nothing slides around in transit. That cuts our load-out time by maybe 15 minutes per job. Doesn't sound like a lot until you multiply it by 60 jobs a year. Not glamorous. Worth it.
Do we need a battery jack hammer?
If you're cutting concrete to enlarge a sump pit, you need a jack hammer at some point. The question is whether it should be corded or battery. Our 2022 approach was a corded demolition hammer with extension cords going through a wet crawlspace. Took four hours and lots of colorful language. Looking back, I should have bought a battery-powered jack hammer then. At the time, the $400 price tag felt like too much. Given that one four-hour detour cost us more than that in labor and dust, it wasn't.
We now keep a battery jack hammer (18V rotary hammer with a bull point) on the van. It chips through 4 inches of concrete, runs long enough for a typical pit, and doesn't need a generator or a fight over the last outlet. For contractors, it pays for itself on the first job. For the occasional DIYer, rent one. That's reasonable.
How to cut porcelain tiles with an angle grinder
When you're opening a tile floor to get to the sump basin, you have to cut porcelain. The question we get most is how to cut porcelain tiles with angle grinder without chipping. Here's what we tell new guys (which, honestly, is what I wish someone told me in my first month):
1. Use a 4-1/2-inch continuous rim diamond blade. The good ones run $15–$25. Don't use a masonry blade—you'll glaze the tile and grind for 20 minutes.
2. Clamp the tile and mark the line. Porcelain is dense, and it will skate if it's not locked down. Then do one light score pass before you commit to the full cut.
3. Let the blade do the work. Run the grinder at full speed, move at a steady pace, and don't push. If you hover in one spot, the heat will chip the edge. For a notch or curve, start with a series of plunge cuts and then finish the edge with the same disc.
4. Clean up the edge. Porcelain edges are razor sharp. Use a rubbing stone ($5–$8) or a diamond hand pad. And wear eye protection—seriously, every time.
That's how a dry cut works. If you have a spray bottle or a helper with a wet sponge, even better—wet cuts keep the dust down and the blade cool. But for one or two cuts on a sump pump access panel, the angle grinder method is faster than a tile saw, and you don't have to carry a wet saw into a basement. (Done that once. Never again.)

Leave a Reply