-
Step 1: Confirm the actual failure before you order
-
Step 2: Match the pump to the application
-
Step 3: Verify voltage, switch, and cord
-
Step 4: Measure the basin and discharge
-
Step 5: Check the check valve, vent, and GFCI
-
Step 6: For Zoeller 519 condensate pumps, clear the drain line first
-
Step 7: For MrCool mini splits, pick the right hole saw
-
Step 8: Budget for tools without getting distracted
-
Step 9: Final pre-install test and handoff
-
Step 10: Keep a spares kit and document model numbers
-
Common mistakes to avoid
If you handle pump replacements, condensate calls, or small HVAC installs, this checklist is for you. I have been handling service and replacement orders for 9 years. I have personally made and documented 7 significant mistakes, totaling roughly $6,800 in wasted budget. Now I use this 10-step checklist to prevent repeats. No theory. Just the sequence.
This is for service techs, plumbers, and HVAC contractors who order pumps and tools. It is not for engineers designing a municipal lift station. It is for the person who has to get a truck unstuck on a Tuesday.
Step 1: Confirm the actual failure before you order
Before you buy a Zoeller 264 sewage pump, confirm the old pump is dead. I have seen float switches, check valves, and clogged impellers blamed on the pump. In March 2021, I replaced a Zoeller 264 because the basin was filling. The pump was fine. The check valve was stuck open. $310 pump plus 2 hours, and the real fix was a $22 valve. Prevention over cure. Check the float first. Then the valve. Then the pump.
Step 2: Match the pump to the application
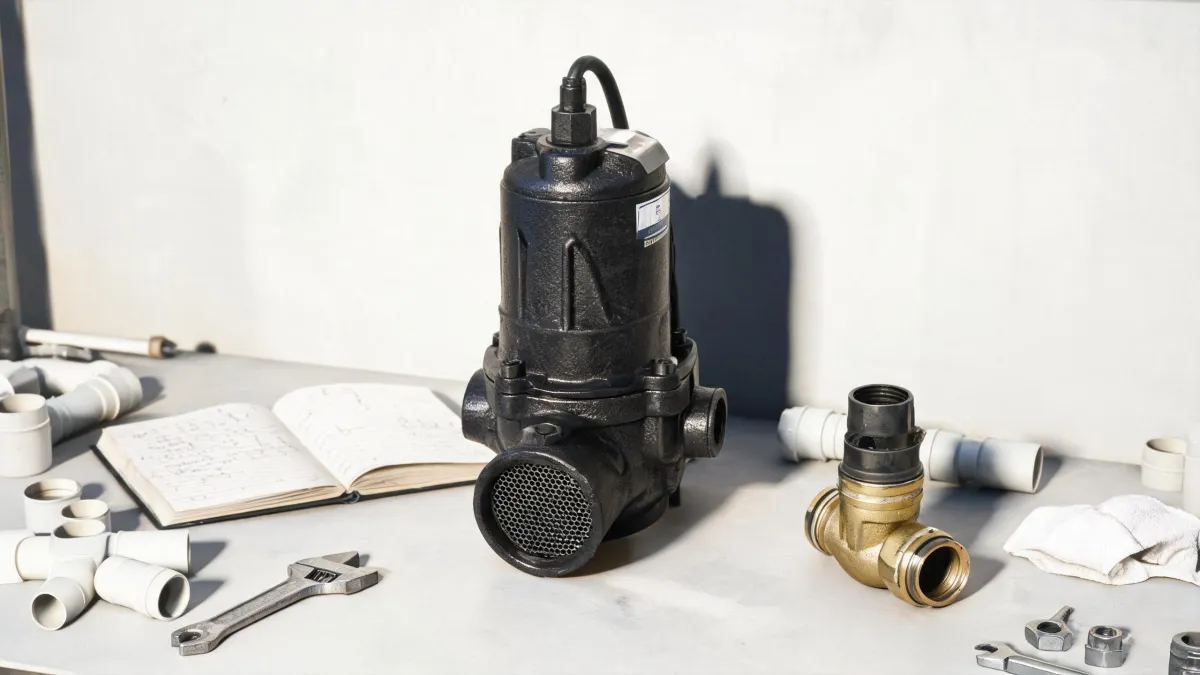
A Zoeller 264 sewage pump is not a condensate pump. A Zoeller 519 condensate pump is not a sewage pump. Sounds obvious. I still mixed it up in 2019 on a rush order. The 519 is for HVAC condensate. Low lift. Small tank. 3/8-inch discharge. The 264 is a cast-iron sewage pump for dirty water with solids. If you put a condensate pump on a sewage basin, you will be back. If you put a sewage pump on a furnace, you will flood the ceiling.
Step 3: Verify voltage, switch, and cord
Pull the old pump data plate. Write down voltage, phase, amperage, cord length, and switch type. The Zoeller 264 comes in 115V and 230V variants. The suffix matters. I ordered a 115V 264 for a 230V circuit in September 2022. The electrician charged $280 to run a new line. The pump sat in the truck for two weeks. That error cost $280 plus a 1-week delay. Do not guess. Read the tag. If the tag is missing, call the manufacturer with the model and serial number. It takes 10 minutes. It saves days.
Step 4: Measure the basin and discharge
For sewage pumps, measure basin diameter, depth, inlet height, discharge size, and solids handling. The Zoeller 264 typically uses a 2-inch discharge. If your basin has a 1.5-inch line, you need adapters or a different pump. For condensate, check tank size, lift, and tubing. The Zoeller 519 has a 1/2-gallon tank and a 15-foot shutoff lift in many versions. If your run is longer, check the pump curve. The manual is boring. Read it anyway. I once trusted a eyeball measurement and ordered a pump that would not fit the basin lid. $240 restocking fee. Lesson learned.
Step 5: Check the check valve, vent, and GFCI
This is the step most people skip. A $20 check valve failure can look like a $400 pump failure. Replace the check valve when you replace the pump. Drill the weep hole if the manufacturer requires it. For sewage basins, make sure the vent is clear. For electrical, verify GFCI protection. Per NEC 210.8(A), unfinished basements require GFCI protection for receptacles. Local code may be stricter. Check with your AHJ. Five minutes of verification beats five days of correction.
The 12-point checklist I created after my third mistake has saved us an estimated $8,000 in potential rework. 5 minutes of verification beats 5 days of correction.
Step 6: For Zoeller 519 condensate pumps, clear the drain line first
I once replaced a Zoeller 519 because the AC was leaking. The pump was running. The drain line was clogged with sludge. I put in a new pump, and the line clogged again. $180 pump plus 2 hours, and the real fix was a $12 brush and a wet vac. Now I always blow out the line before I sell a condensate pump. If the old pump is dead, replace it. But if it is alive and the pan is full, clean the line first. I should add that condensate safety switches are cheap insurance. If the line clogs again, the switch shuts the system down instead of overflowing.
Step 7: For MrCool mini splits, pick the right hole saw
What size hole saw for MrCool mini split? Most DIY single-zone line sets fit through a 2.5-inch hole. Some installers use a 3-inch hole saw for extra room for the drain and insulation. I went back and forth between 2.5 and 3 inches on a garage install. 2.5 looked cleaner. But 3 gave me room to pull the line set without kinking. I chose 3-inch. Check your MrCool installation manual. The exact size depends on the line-set diameter. Do not guess. A wrong 2.5-inch hole is expensive to patch. I keep both sizes on the truck now. Not ideal. Workable. But it prevents a second trip.
Step 8: Budget for tools without getting distracted
As of early 2026, a 20V impact driver retail price is usually $99 to $179 bare tool, or $149 to $249 for a kit with battery and charger. If you already have batteries, buy bare tool. If you do not, the kit is cheaper than buying separately. I am not sure why some contractors buy a new kit every year. My best guess is marketing. Also, ignore the electric lawn mower deal. I know it is tempting. But if your sump pump is on borrowed time, the mower can wait. I made that mistake in April 2023. I bought a deal mower, then had to put a $400 sewage pump on a credit card. Not ideal. Workable. But avoidable.
Step 9: Final pre-install test and handoff
Before you leave, fill the basin and run the pump through 3 cycles. Check for leaks. Confirm the float does not hit the lid. Test the alarm or backup. For condensate, pour water into the pan and watch the pump cycle. For mini splits, check the drain slope and use a vacuum test. Document everything. Take a photo of the data plate and the install. That photo has saved me twice when a warranty question came up. Here is the thing: most callbacks are not failing pumps. They are skipped steps.
Step 10: Keep a spares kit and document model numbers
A spare check valve, a float switch, and a condensate pump safety switch can save a weekend call. I learned this in December 2022 when a Friday night sewage call turned into a Monday morning job because I had no 2-inch check valve on the truck. $150 in overnight parts plus a lost weekend. Now my truck has a Zoeller 519-compatible safety switch, a 2-inch check valve, and a spare 115V float switch. I also photograph every data plate. That way, when a customer calls two years later, I know exactly which Zoeller 264 sewage pump or Zoeller 519 condensate pump to order. No guessing. No return trips.
Common mistakes to avoid
- Ordering by price instead of model number.
- Reusing an old check valve.
- Guessing the hole saw size for a MrCool line set.
- Buying tools on impulse when a critical pump is due.
- Forgetting to check voltage and switch type.
- Not reading the manufacturer manual.
Prevention over cure. It is cheaper. And it keeps your callback rate low.

Leave a Reply