I'm a quality and brand compliance manager at a pump manufacturer. In a normal year, I review about 200 pump-related deliverables—specs, nameplates, installation checklists—before they reach the field. Over four years of doing this, I've rejected roughly 8% of first deliveries in 2025 so far for spec mismatches that should have been caught earlier.
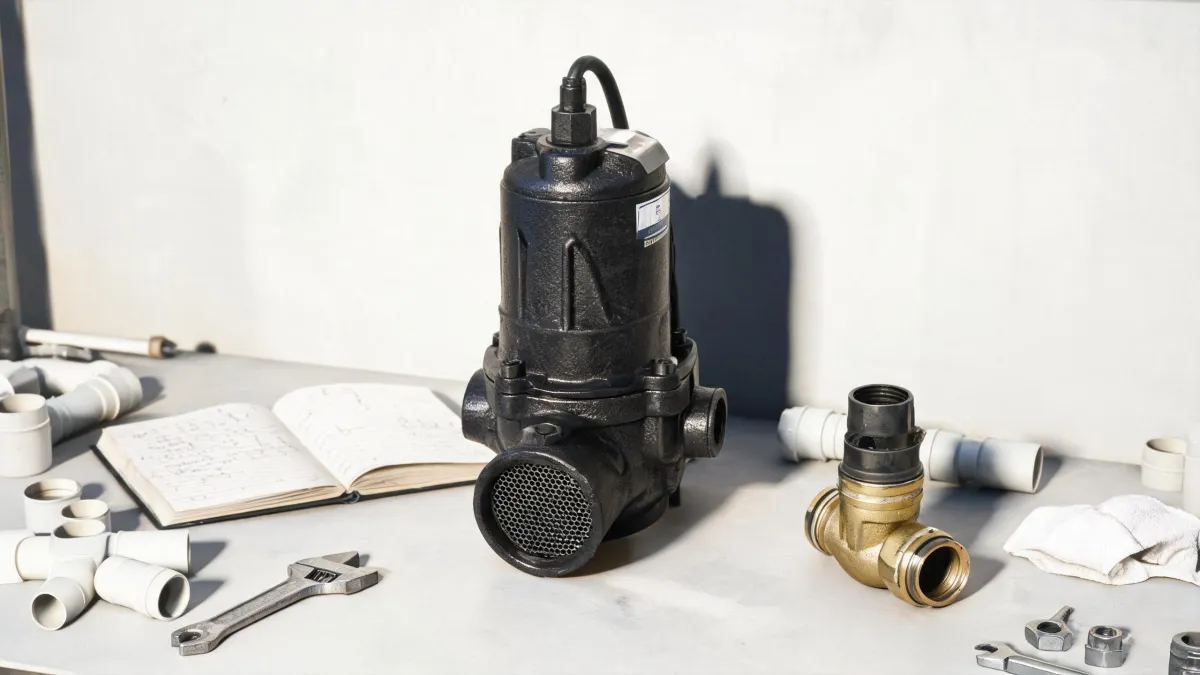
This checklist is for the contractor who's about to install a Zoeller duplex pump system. It's straightforward: five steps, no filler. Honestly, if you're searching 'Zoeller sump pumps near me,' start there—but understand that 'near me' matters less than authorized-distributor status. Gray-market units are a hidden risk.
- Confirm the pump model and application
- Rough in the basin and piping correctly
- Build the right tool kit
- Verify switches, alternation, and check valves
- Run the actual test before backfill
1. Confirm the Pump Model and Application
A duplex system can be a factory package or a field-built nightmare. Don't assume the model number actually tells you everything. Zoeller revises components; a pump with the same series number can have a different float switch, voltage, or discharge orientation from the unit you installed last year. In Q1 2024, I caught 40 pumps where the paperwork said 230V but the nameplates said 115V. The vendor insisted they were 'the same pump.' They were not. That batch rejection cost them a full rework.
Before ordering, confirm:
- Is it a true duplex system with alternating controls, or just two pumps in one pit?
- Is the pump rated for raw sewage or only effluent? A sewage pump handles solids; an effluent pump does not.
- What is the float switch type, and is the rod length correct for your basin?
Check the exact model on the Zoeller spec sheet or installation manual before you write the order. A model number mismatch is not a minor issue. It's a callback and a liability.
2. Rough In the Basin and Piping Correctly
The basin size is not a suggestion. For a duplex sewage system, I use an 18-inch minimum diameter for most residential pits, but local code may require 24-inch. The pit has to fit two pumps, two discharge pipes, two float cords, and a service hand—without a single rubbing point.
Set the inlet height so the sewer line enters below the activation float level. If the inlet is above the float, the pump will cycle constantly, and the float will fail early. That's the most repeated float failure cause in the field.
What size hole saw do you need?
This is the question that should be easier to answer than it is. For a 1-1/2-inch discharge pipe going through the basin cover, use a 2-1/4-inch hole saw. For a 2-inch discharge line, use a 2-3/4-inch hole saw—or 3 inches if the cover is thick. That extra clearance prevents the pipe from binding against the cover and transmitting pump vibration into the floor.
Don't use a spade bit for this. It will chew up the cover, leave splinters, and make the cord more vulnerable. Cut the hole, deburr the edges, then pull the cord through. If you have to fight the pipe into the hole, it's too small. Not ideal, but workable until you need to pull the pump—then it's a nightmare. A lesson learned the hard way.
3. Build the Tool Kit (and Leave the Wrong Pliers at Home)
You don't need a specialty truck. But the tool kit for a duplex pump installation is smaller than a lot of contractors think, and three items are non-negotiable.
- Tongue-and-groove pliers. What are pliers, exactly? In the simplest terms, pliers are a hinged hand tool for gripping, twisting, or cutting. But not all pliers are created equal. Slip-joint pliers slip. Tongue-and-groove pliers lock in a set jaw size and stay there. For pump work, the tongue-and-groove style is the right choice for gripping a check valve or tightening a union without crushing it. The conventional wisdom is that any 10-inch pliers will do. In practice, the jaw depth and grip matter more than the handle color.
- A torque-capable screwdriver or bit driver. Most loose-terminal callbacks in this industry come from undertightened screws, not bad wire. Get a driver that tells you when you've reached the torque spec, and use it.
- The right hole saw sizes from above. A clean 2-1/4 or 2-3/4 hole saw saves you from a service nightmare later. It's a no-brainer if you're already carrying a kit.
I have mixed feelings about used tools. On one hand, a good used screwdriver is a bargain. On the other, 'used nail guns for sale' are tempting for a reason—and sometimes worth it. But the same logic does not extend to pumps. A used nail gun that jams costs you a few minutes on site. A used sewage pump that fails costs you a flooded basement, legal exposure, and a reputation. Buy the pump new from an authorized source. If you're also looking at used nail guns for sale, go ahead and buy the nail gun used. Just don't bring the same mindset to the pump.
4. Verify Switches, Alternation, and Check Valves
This is the step most people skip, and I only believed in it after ignoring it once. I approved a duplex installation without testing alternation because both pumps ran fine individually. On the second cycle, both pumps tried to run at once. The float switches were wired in parallel instead of through the alternator relay. It worked on the bench. It failed in the pit.
Checklist for this step:
- Check float switch travel. The pump should start before the float hits the basin inlet.
- Run pump one through a full cycle, let it stop, then confirm pump two starts on the next cycle.
- Repeat the cycle three times. Alternation should swap the lead pump every time.
- Inspect the check valve arrow before you glue or tighten it. An upside-down check valve is a hidden red flag, and it will eventually slam or flow backward at 2 a.m.
- Torque the discharge connections. Hand-tight is not a torque spec.
According to the current Zoeller installation manual, the float switch must have unobstructed travel and the check valve must be installed with the flow arrow pointing away from the pump. It sounds obvious, but an upside-down check valve happened on a job I audited last year because the arrow was hidden. Worse than expected.
5. Run the Actual Test Before You Backfill
A pump that 'hummed' in the truck is not a tested pump. Fill the pit with water, not just a couple of inches. Let the pump run a full cycle, let it shut off, then fill it again. Time the cycle. Write it down. This is not busywork; it's the last chance to catch a miswired float, an undersized discharge line, or a bad check valve.
First, fill. Then, cycle. Finally, record. Three complete cycles is my minimum. If the pump runs for thirty seconds and then turns off, that's fine. If it runs for three minutes and never stops, you've got a problem. The most frustrating part of this job: installers often call the after-hours line with a pump that won't shut off, and the answer is usually the same—float jammed against the pit wall. Test it while you can still reach it.
During the test, check the vent hole in the basin cover. If water drips out of it, the check valve is leaking backward or the cover seal is bad. Fix it before you backfill, not after.
Common Mistakes to Avoid
After the third late-night call about a 'bad pump' that turned out to be a bad install, I made a list. Here's the short version:
- Using the wrong hole saw size. Too tight a hole pinches the pipe or the cord. Too big a hole lets in rodents and moisture. Use 2-1/4 for 1-1/2 pipe and 2-3/4 or 3 for 2 pipe.
- Assuming 'near me' equals authorized. Search for 'Zoeller sump pumps near me,' then cross-check the dealer against the Zoeller distributor locator on zoeller.com. Gray-market units may not carry the warranty.
- Skipping the alternation test. It turns a duplex system into a single-pump system with an expensive spare.
- Buying a used pump as a budget move. If you're also scanning 'used nail guns for sale,' fine. But don't conflate a framing tool with a water-handling machine. Used pumps carry hidden wear, especially if they've been run without solids capability.
- Not reading the model number. I rejected a batch of 20 pumps in 2025 because the spec said 1-1/2-inch discharge but the inventory was 2-inch. Different discharge size, different float range. The installer didn't catch it. The nameplate doesn't lie.
The fundamentals haven't changed: match the pump to the load, give the floats room to move, and verify the system cycles before you leave the job. What was best practice in 2020—trusting the model number, trusting the 'near me' listing, trusting the bench test—may not apply in 2025. The execution has transformed, but the basics remain.
Bottom line: a Zoeller duplex pump system is a reliable piece of equipment when it's selected and installed by someone who checks the details. Run the checklist. It's a lot cheaper than a flooded basement.

Leave a Reply